


If you want your car to sparkle, a drive-in automated carwash won’t suffice. For the best results, you’ll have to thoroughly clean it by hand. There are 10 steps to a proper car hand wash and essential items you need for each of these stages.
#1. Choose the right time and place
Don’t wash your car in bright sunlight because the heat will dry your car’s bodywork between the washing, rinsing, and waxing stages, making it impossible for you to avoid streaks. Heat can also reduce the effectiveness of some cleaning products. Also, don’t wash your car in the rain. That way, it leads to ruin.
If you must wash your car outside, choose a shady location that’s out of the sun and do it when the weather is fine. Where there is no natural shade, you can use a sun-shaded sail. However, it’s best if you can wash your car inside a carport or garage to avoid weather-related problems.
#2. Initial cleansing
Before you can do any real cleaning, you must remove the dirt and grit around your car. For this stage of the process, you should use a pressure washer or at least a hose. Be cautious at this stage because you don’t want to damage your paintwork or seals.
For the best results, first coat your car in traffic film remover or snow foam.Leave the foam on for a few minutes, then rinse it off with your pressure washer. Work methodically down from the roof and don’t forget the fenders and wheel arches.
Bad stains may require a specialist oil-based cleaner or bug-removing spray. WD40 is unexpectedly efficient at removing stubborn marks.
#3. A thorough shampoo
The next stage is the traditional hand wash using abucket and sponge. Use adedicatedcar shampoo in your bucket. DO NOT use dishwashing liquid, as it is too harsh on car paint. Mix the shampoo with warm water and apply using the sponge. Work methodically from top to bottom and panel to panel.
Even after a power wash, grit sometimes remains on your car’s bodyand enters the wash water when you rinse your sponge. A grit guard in the base of your bucket will prevent you from accidentally scratching your paintwork with grit that sticks to your sponge.
#4. Drying
Air drying will result in streaks, so you should dry using a microfiber cloth or traditional chamois leather. To prevent dribbles from hidden crevices after you’ve dried most of the body, consider using a hairdryer to blow water droplets from inaccessible areas around lights and door handles.
#5. Detailing
Some stubborn dirt particles may remain, so you need to use a clay bar to remove the last stubborn embedded contaminants. Then it’s time for the classic wax-on, wax-off routine. Use a fine sponge to apply a good-quality car wax evenly across your bodywork. Allow the wax to dry, then buff using a soft cloth or pad. Some people attach a polishing brush to a household drill, but this introduces the risk of scratching the bodywork.
#6. Windows
You should use a vinegar-based glass cleaner for the best streak-free results, ideally a dedicated car glass cleaner. Use a lint-free cloth to polish the glass. Polish both outside and inside the glass. Where windows are retractable, lower them to clean the strip where the glass meets the seal. Don’t forget to use the glass cleaner on the mirrors, too. To protect the new shiny surfaces, apply an anti-fog coating on the inside and rain-repellent liquid on the outside.
#7. Wheels
The wheels are one of the dirtiest areas of your car. Using snowfoam on the wheels and tires when you do your initial cleanse helps. However, to get the best results on alloy wheels, apply a dedicated alloy wheel cleanerand then remove it with your pressure spray. After this, you can apply wax to your wheels to protect them from dirt. Apply a tire shine spray to your tires to give them that car showroomlook.
#8. Exterior trim
If your car has black plastic bumpers, door handles, and wing mirrors, use a tire shine spray to protect them from UV rays and make them shine. Vintage cars sometimes have chrome fixtures for which you’ll need a dedicated chrome trim cleaner. After cleaning chrome, apply a protective wax coat.
#9. Car interior
Don’t spend all that time cleaning the outside of your car and leave your interior looking like a pigpen. Dump all those old receipts and chip packets and bring in a shop vacuum with attachments to clean all those difficult-to-reach places.
Ensure you move your seats back and forth to expose all the hidden crevices. A portable air compressor is great for blowing stubborn debris from crevices and cracks in car interiors.
If your trunk has a removable floor, lift it and give it a vacuum. Don’t leave out the spare wheel well. Finish off your car upholstery with a dedicated car upholstery cleaner or leather cleaner. And give your dashboard a gloss or matte finish with dashboard wipes. The same wipes are great for wiping up spillages and crumbs in door bins and cupholders.
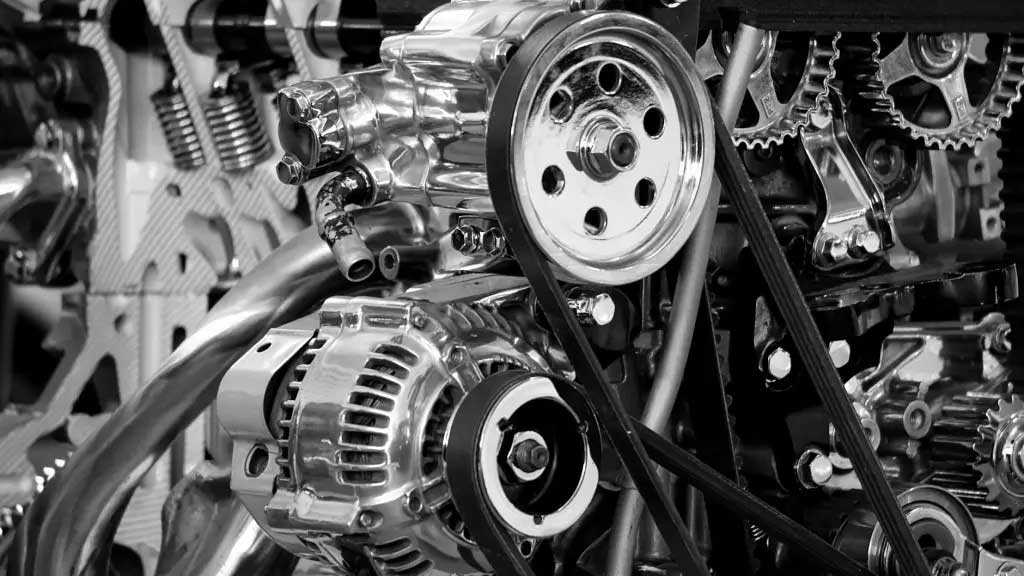
#10. The engine bay
Most car owners won’t go this far, but classic car enthusiasts or proud owners might. DO NOT use a pressure washer here because you’ll do more damage than good. A silicone-based spray will revitalize rubber-coated cables and hoses. After cleaning your engine, apply grease to any components that need it.
Now impress your friends
Once you’ve followed all the above steps, you’re ready to enter your car into the local custom car show or just impress your neighbors with your shiny wheels. Even if you don’t care what others think about your vehicle, there’s a sense of accomplishment that comes with a job well done. And it sure feels better driving around in a car with a factory-new smell rather than month-old takeaway wrappers.